How does it work?
Understanding how the add-on works may help you debug any issues and do contact us if you have any questons.
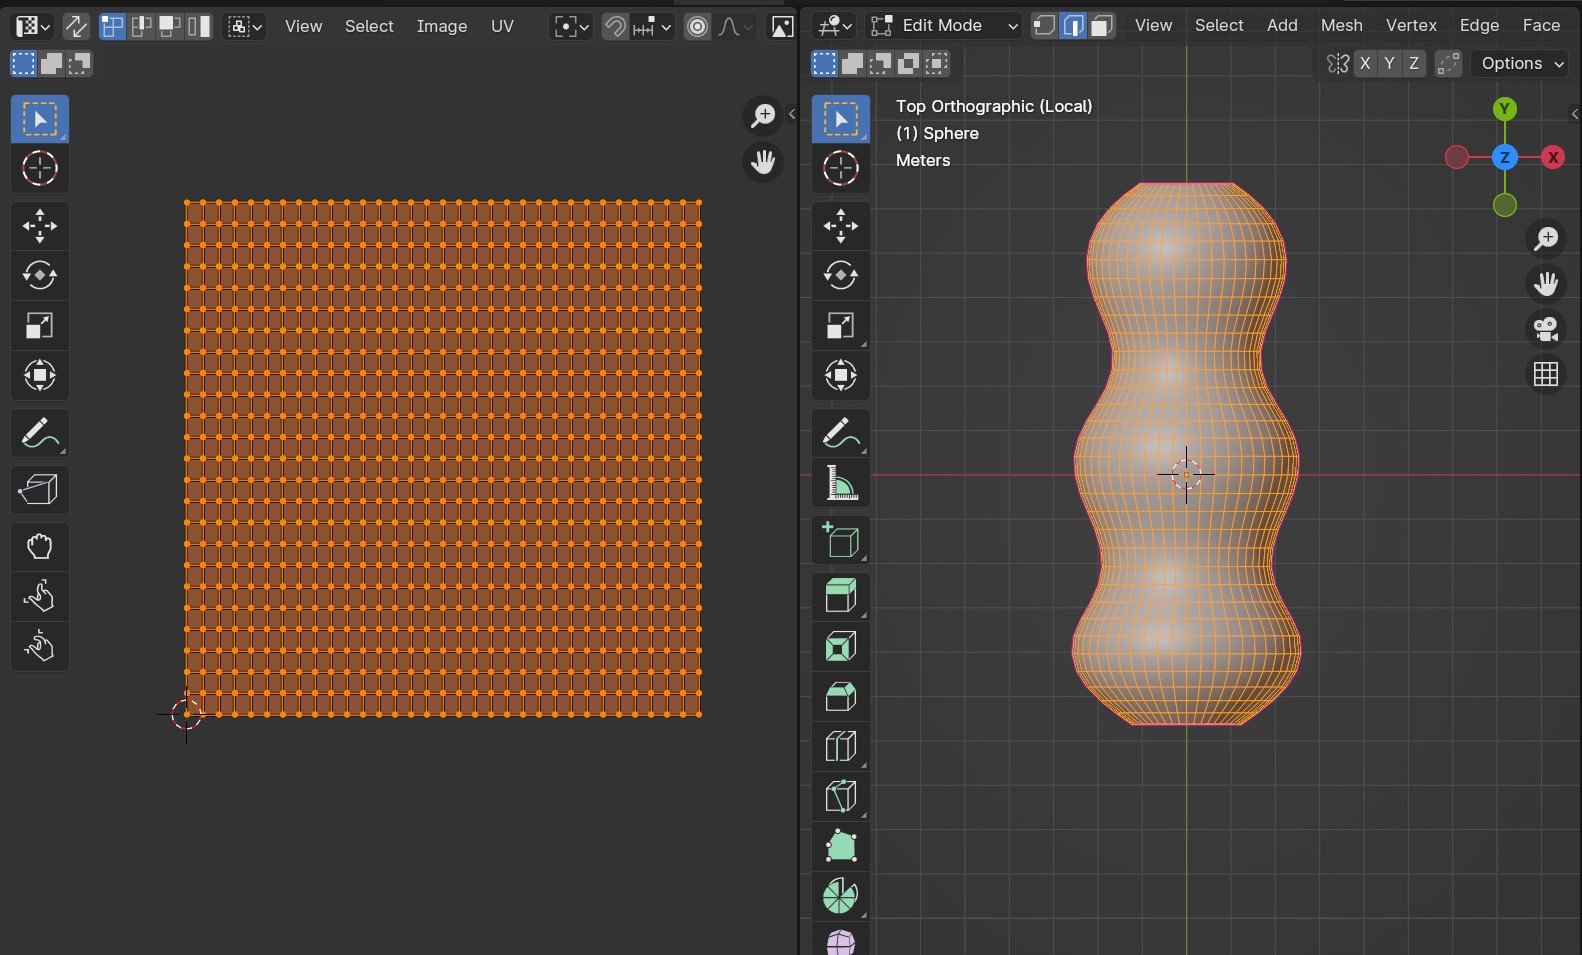
The add-on first takes a look at the corners you have selected on the Source Grid and the Target Surface, and then uses this information to create a separate special grid-shaped UV map on the Target Surface. It is important the corners on the Source and Target grid objects match because the add-on uses this information to determine which is the ‘top left’ corner for the UV Map:
The special UV Map is created on the Target Surface.
With this special UV Map, it creates a new blank object and adds a custom Geometry Nodes modifier to it which maps the Source Object and the Target Surface. The Source Grid is used at this stage as a reference so that the relative position of a vertex on the Source Object can be located on the Target Surface using the UV Map, a little like a regular 2D texture would be mapped.

This images shows a red line where a single vertex is mapped from the Source Object: It takes the relative position on the Source Grid, and then uses this to calculate the relative position on the Target Grid. The add-on does this for each vertex.
Warning
Because of this method, adding modifiers like the Array or Solidify modifier on top of the Target Surface may create overlapping UVs that the add-on cannot process, which may result in empty objects.
Hopefully in the future the UV Map generation can be handled by Geometry Nodes, which would make it more flexible.
Once this is done, the new object is added to the Blender scene. The Geometry Nodes modifier has then some additional settings that you can change.
If you have any questions issues do not hesitate to get in touch via info@configurate.net.